How to Fold a Traditional Origami Star Box
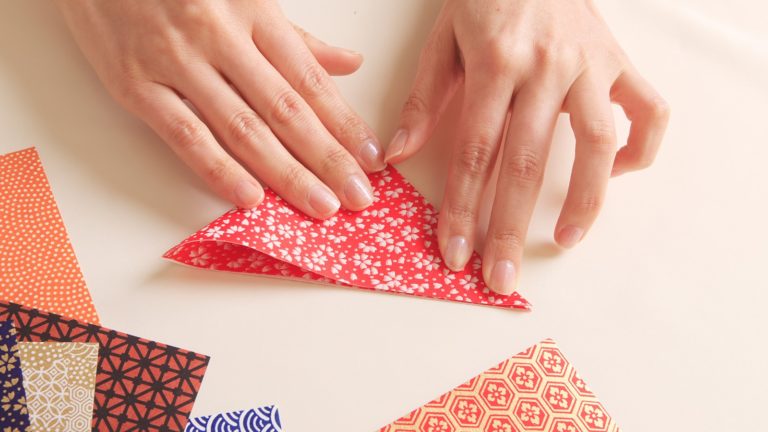
These diagrams will show you how to make an origami star box. If you’ve never folded anything before, we recommend that you check out our Beginner’s Guide, which will show you all the basic folds and techniques.
Traditional Origami Star Box Step-by-Step Instructions
- Difficulty: Easy – Beginner Level 3
- Folding time: 5-10 minutes
- Model designer: Traditional
- Recommended paper: Chiyogami 15×15 cm (6×6 in)
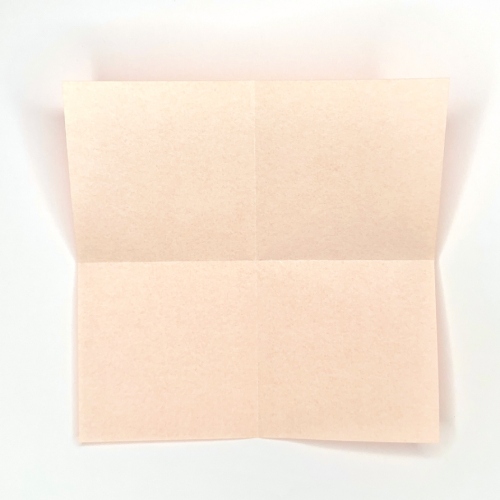
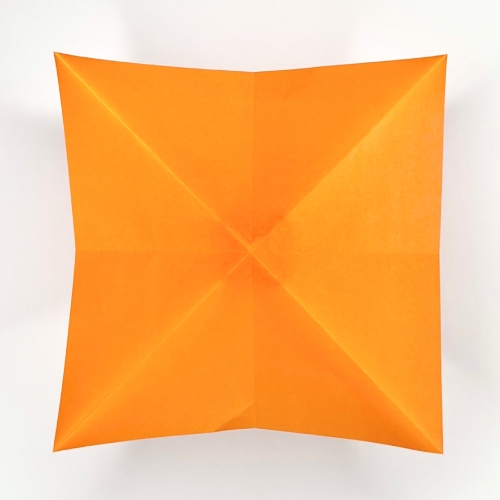
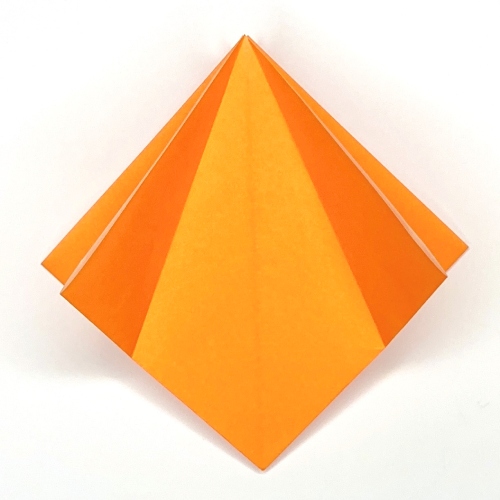
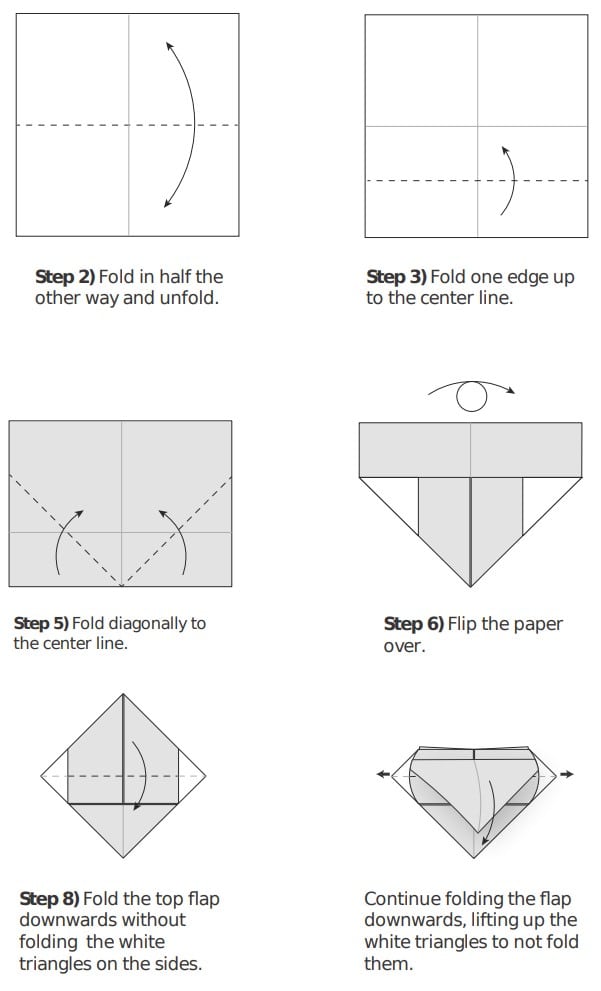
Step 1

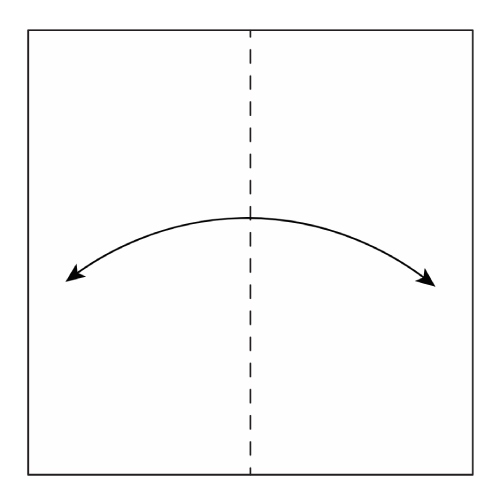
Start with the white side up. Fold in half and unfold.
Step 2
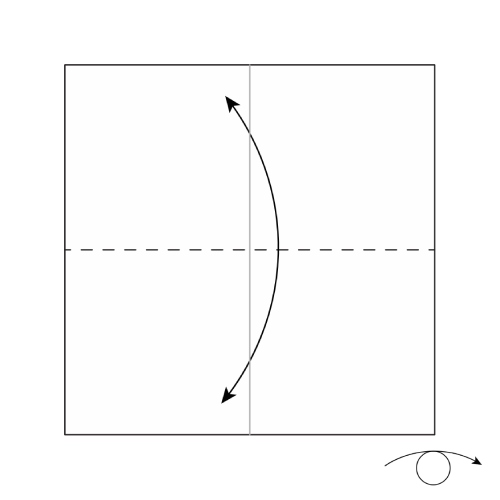
Fold in half the other way and unfold. Flip the paper around.
Step 3
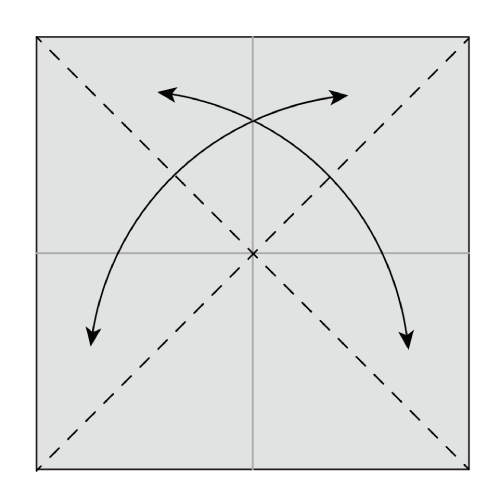
Fold and unfold along the diagonals.
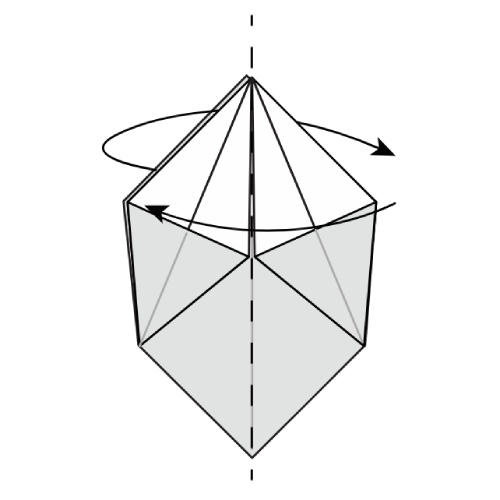
Step 4

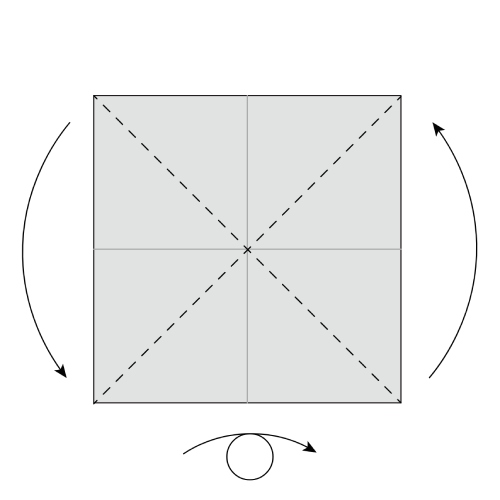
Rotate the paper and flip it around.
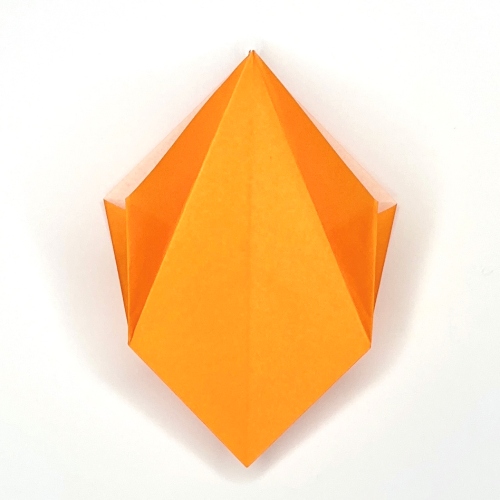
Step 5
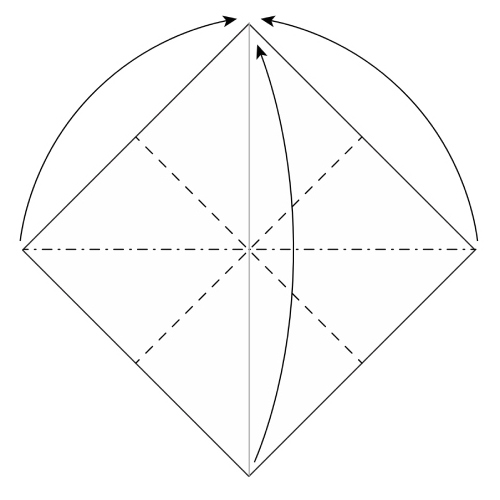
Collapse along the dotted lines to create a Square Base.
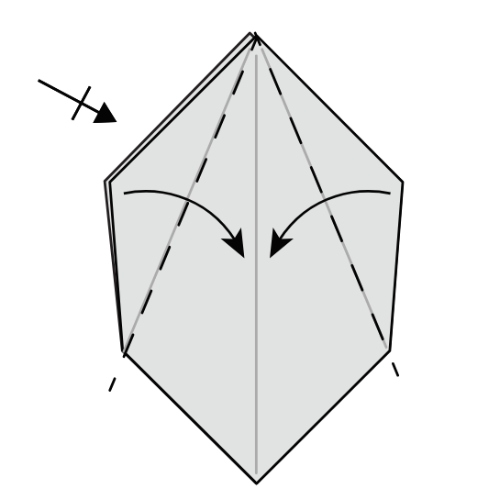
Step 6
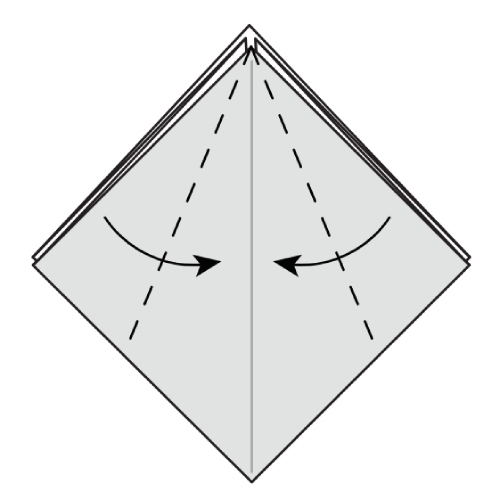
Fold both top flaps to the center line.
Step 7
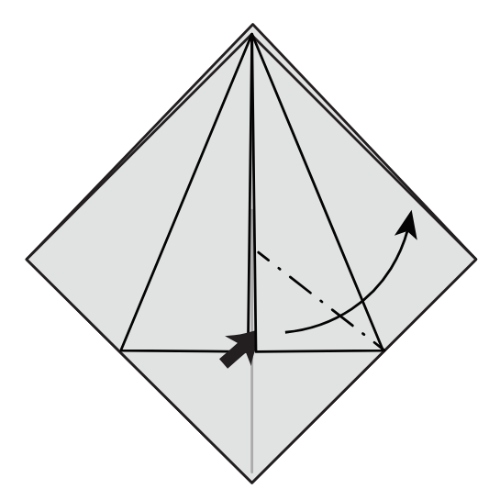
Open the right flap and Squash fold it flat.
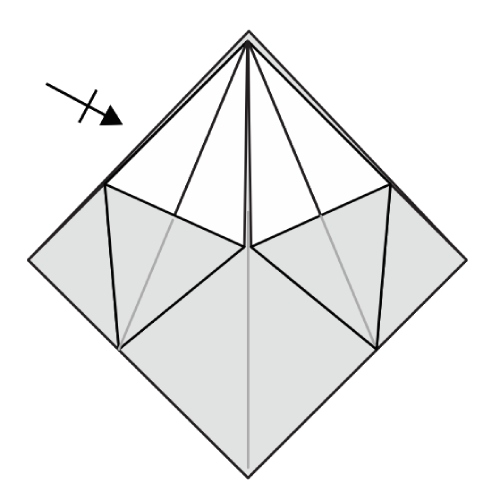
Step 8

Repeat on the left side.
Step 9
Repeat Steps 6 to 8 on the other side of the model.
Step 10
Bring the top right flap to the left. Repeat behind.
Step 11
Fold both top flaps to the center line along the existing creases. Repeat behind.
Step 12
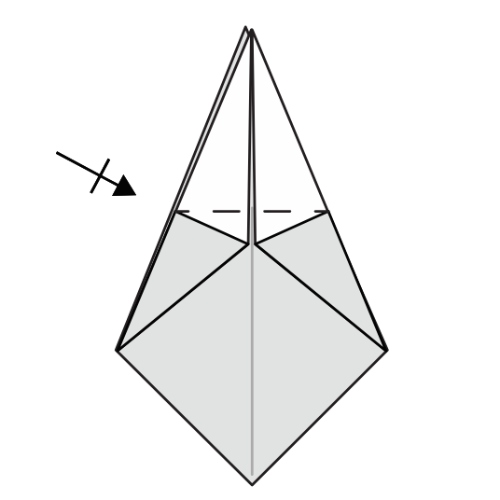
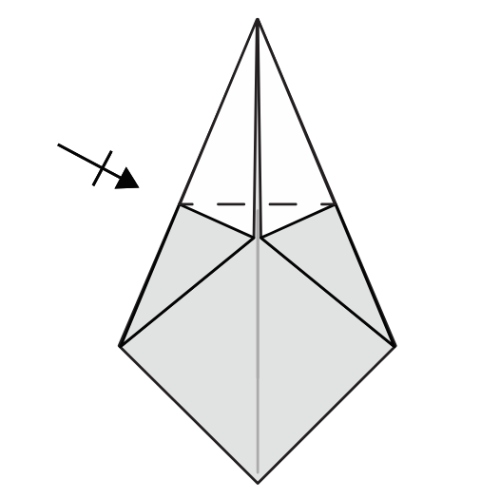
Bring the top corner down and fold along the dotted line. Repeat behind.
Step 13
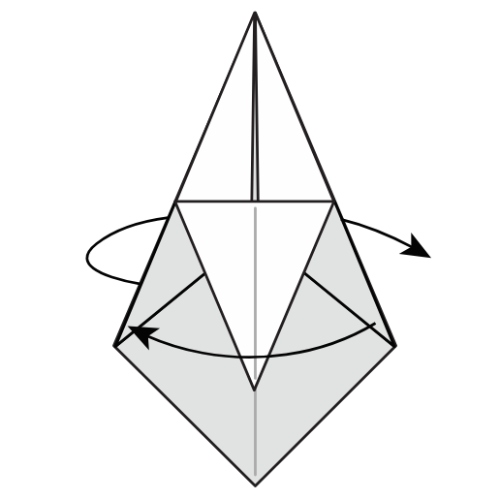
Bring the top right flap to the left. Repeat behind.
Step 14
Repeat Step 13 on the front and back.
Step 15
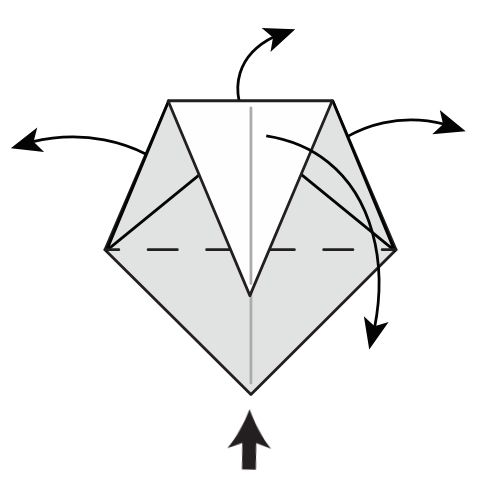
Pull out all 4 white flaps while flattening the bottom of the model.
🎁 Folding tip: To flatten the model, gently stretch the paper by pulling the opposite folds underneath the box.
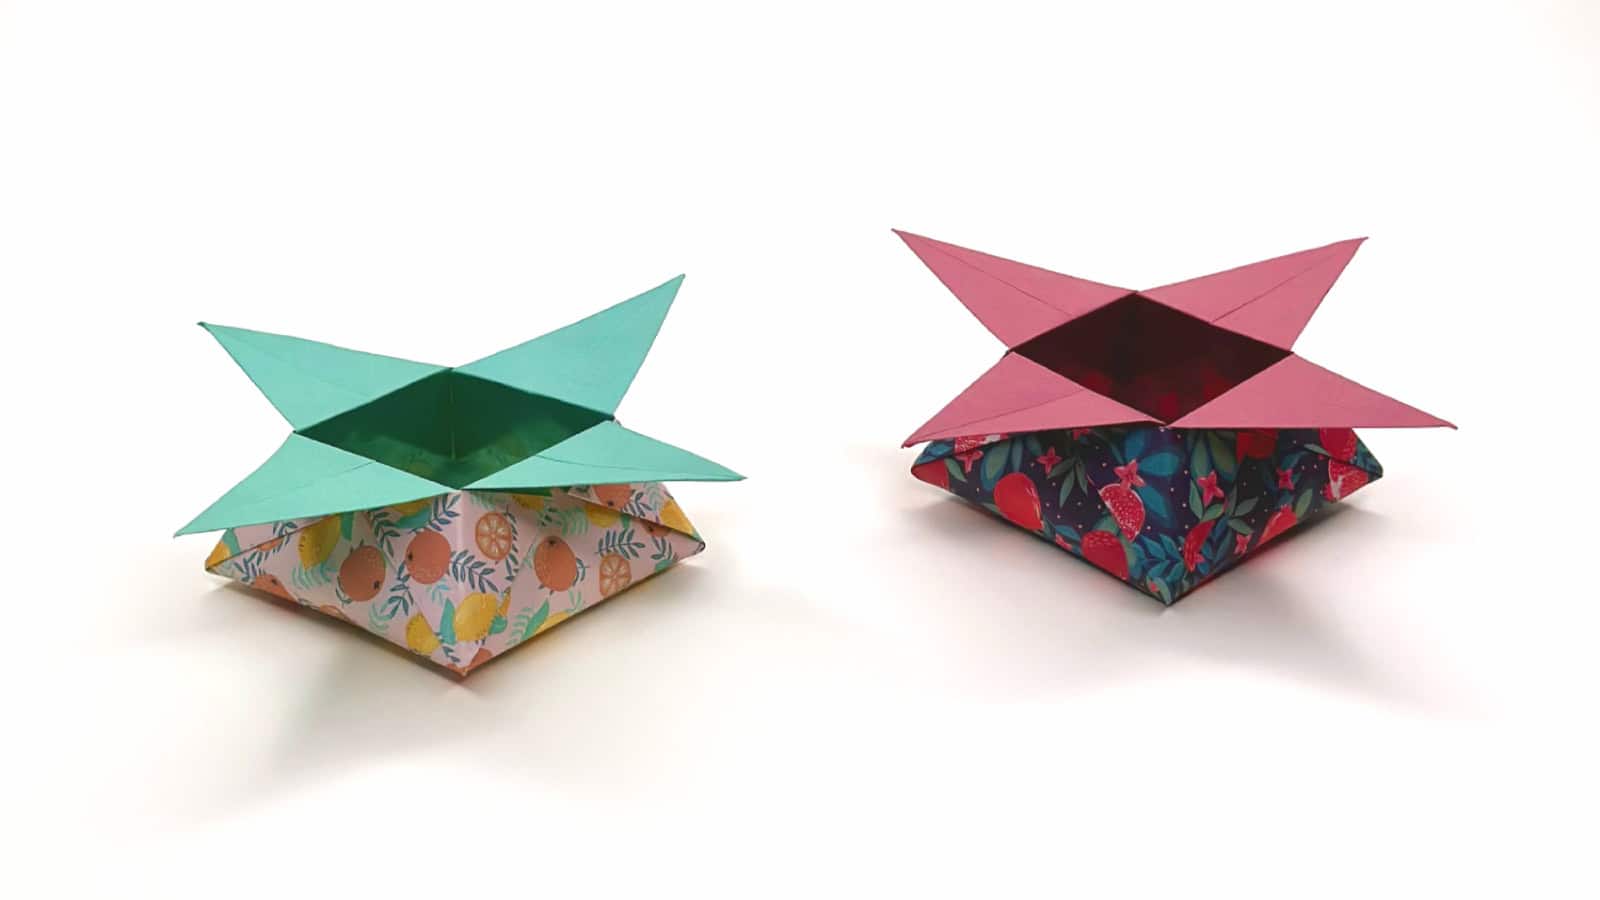
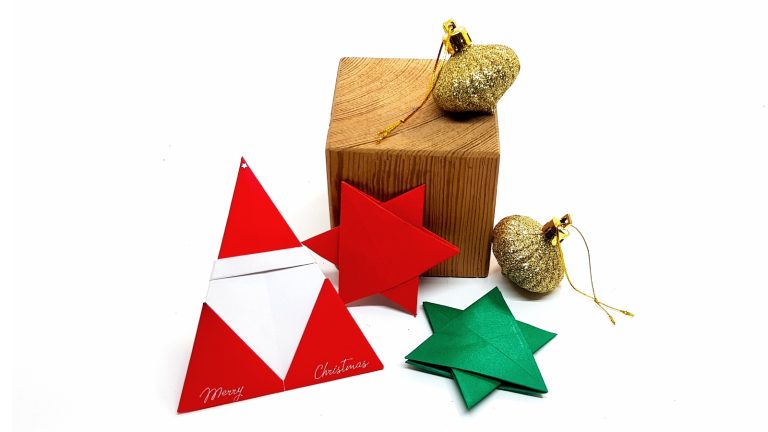
The Completed Origami Star Box
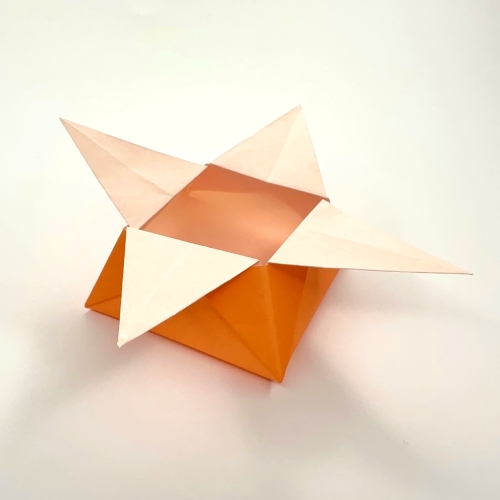
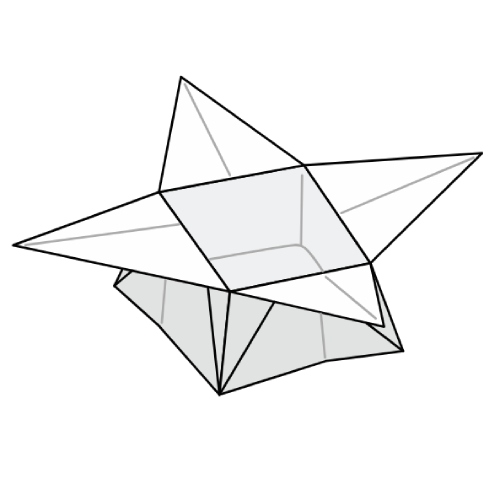
What did you think about this origami star box? Let us know in the comments!
Download the Full Origami Star Box Printable PDF Instructions
We’d love to keep you in the loop, so by sharing your email with us, you’ll be signed up for our mailing list. Don’t worry; we won’t bombard you with spammy emails, and your information is safe with us – we won’t share it with anyone else.

PERFECT THANKYOU
I NOT UNDERSTAND AT 11-13. /_ \
Hi Liza! We’ve updated the instructions with new diagrams, pictures, and videos to make things clearer.